Create Bullet-proof Image Padding
Is your email message text wrapping too closely to your image?
If you so, you might need to make some small formatting adjustments to get just the right amount of white space between text and images. A lot of email marketers rely on "image padding" in the HTML code to accomplish this. The problem is that image padding will be ignored by Outlook. So, how do you get additional white space, or image padding between your images and your text? Here are two quick and easy options.
Option 1: Add 10 or 20 pixels of white border around the edges of your images before uploading them.
Option 2: Create a "1 row x 2 column table" within your content that will hold the image in one column, and the content in the other. Here's an example:
Here's what my email looked like before I added a table. Notice there is no white-space between the image and the content.

Now, add a table by selecting a location in the message content, and then clicking on the Insert Table button. In this example, we are going to insert a 1 row by 2 column table.
Next, enter (or drag) your content (image and text) into the table cells. Place the image in one cell, and the text in another.
Finally, right click on the image and add padding around the edges of the image by adjusting the Hspace (horizontal space) and Vspace (vertical space) fields to achieve the desired amount of padding.
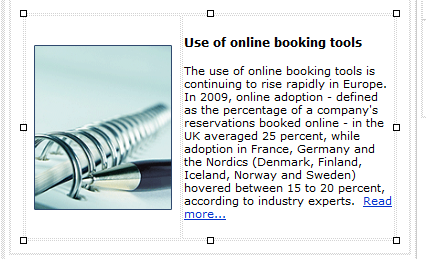
Here's what the email looks like after placing the image in the left column and the text in the right: